 |
| Vegas Wedding Quilt pattern can be found HERE |
** Before I start sharing some of the ways to make this quilt go a little smoother, make sure you either have your pattern printed out in color or viewable from a device nearby. To avoid potential confusion later, I do not recommend working from this pattern when it's been printed in black & white.
** Make sure you have the template on Page 7 printed at actual size or "Do Not Scale". Measure the 1" square on that page to double check it's been printed correctly. If it's even a hair smaller than your ruler, then you most likely will need to try printing the template again.
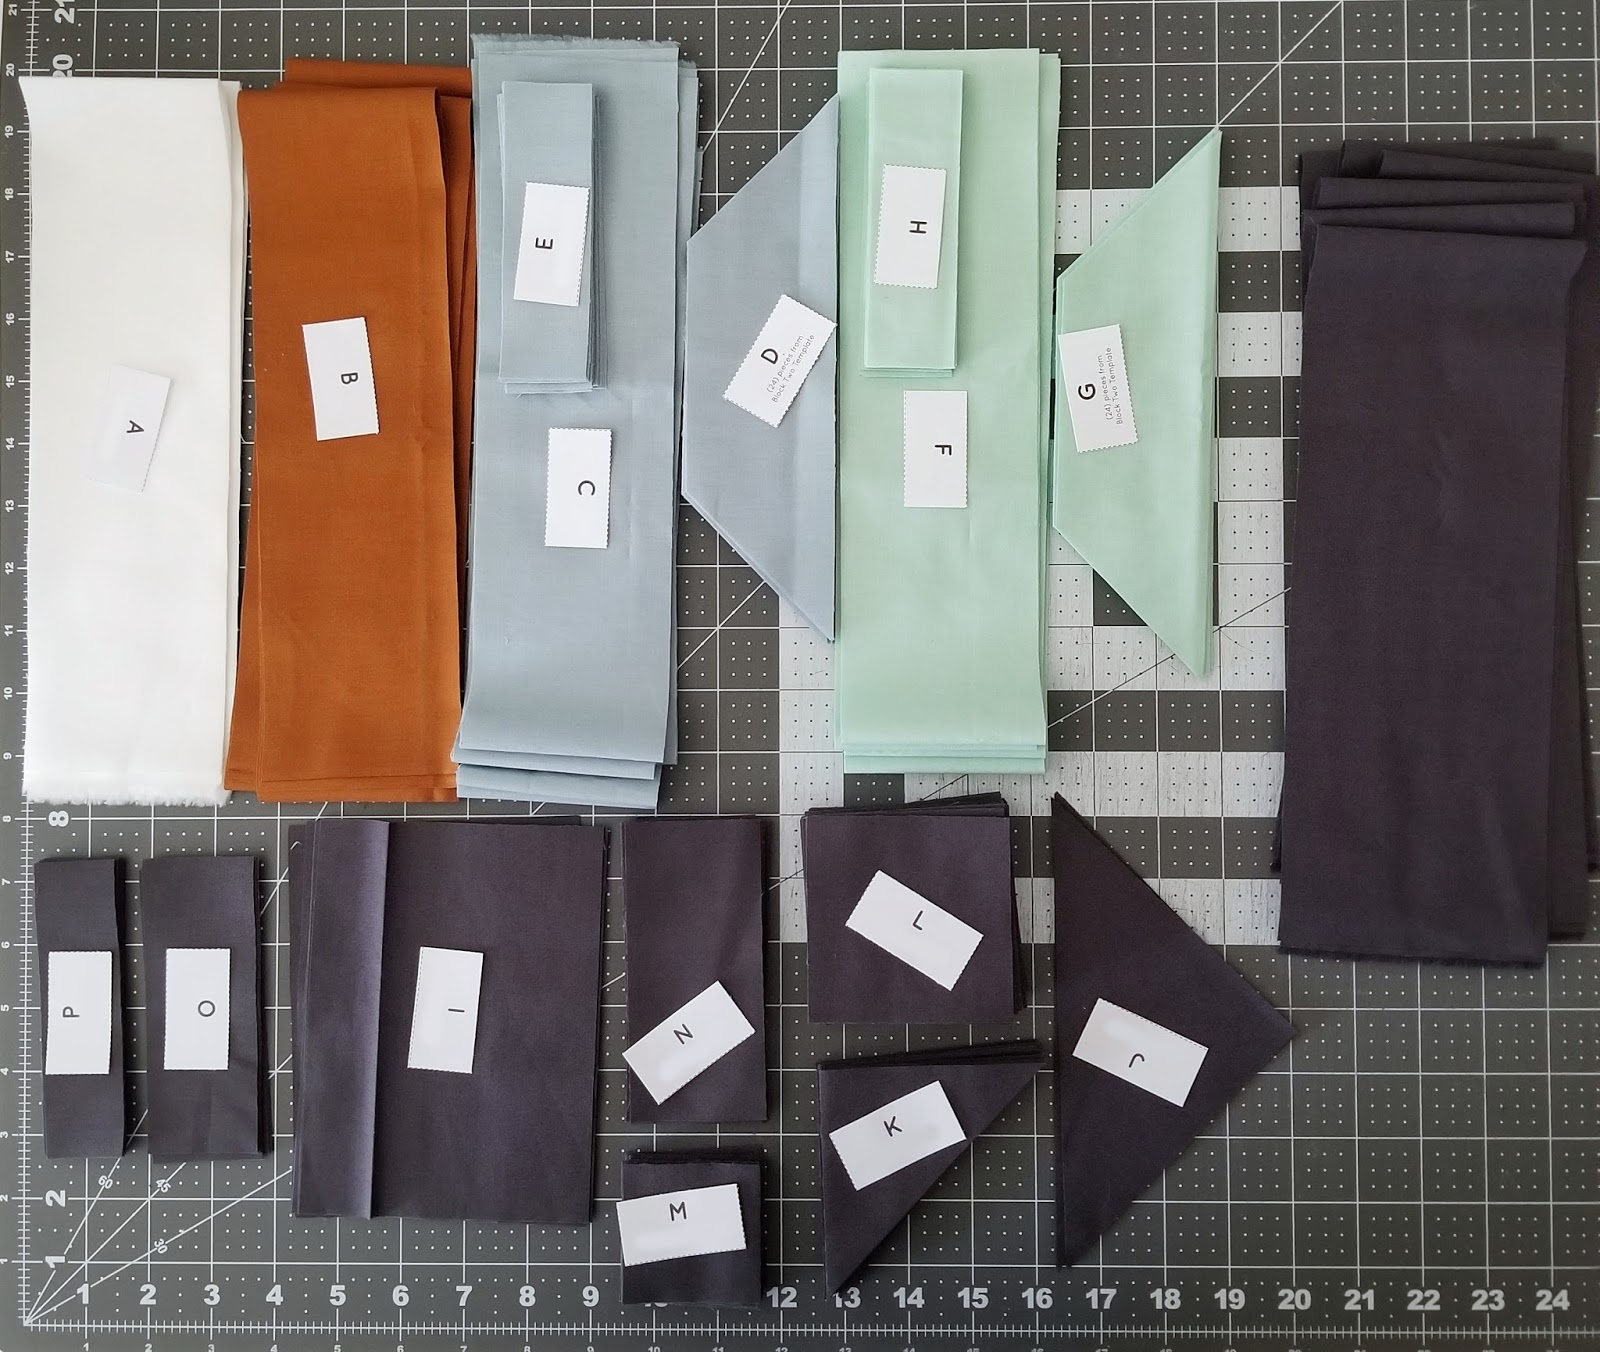
** Also, it's important to utilize the cutting labels on Page 8. And I know what you're thinking..."Do I REALLY need them??" Yes, yes you do (sorry, I'm a party pooper). I know it can seem like a hassle or a waste of time, but I really believe staying organized while making this pattern will ensure a less frustrating experience later.
** One last thing before we get started, I also recommend starching your fabric BEFORE you start cutting. Because this pattern works with bias edges, it is important to give your fabric as much body or structure as you can to avoid distortion later from cutting, sewing, pressing, etc. I like to make my own starch spray when pressing and the recipe I use for that is 1 part vodka (I buy whatever is cheapest) to 3 parts water. Vodka is made from fermented potatoes or corn so that is the starch component of this spray. It works just as well as Best Press or any other starch sprays I've used and so much less expensive too!
In this blog post, I will be covering tips for cutting & organizing your fabric and tips for making Block One....here we go!
Take your time, follow the cutting instructions on Page 1 and cut out and label all the necessary pieces. I sometimes find it helpful to bag the pieces together with the corresponding label to avoid anything getting mixed up later. If you are coming to my Vegas Wedding class on the 20th, then I HIGHLY recommend bagging all of your cut pieces separately before class.

Block One in this pattern is just a simple patchwork block and very easy to make.
I use the strip set technique to assemble Block One. I do not use pins when sewing my strips together, but I do pay extra attention to my edges staying aligned while sewing and I'm also careful not to pull on the top or bottom strip more than the other while feeding them through my machine.

Be gentle when pressing strip sets. It can be easy to distort the strip set by moving the iron around too much or too hard on the seam.

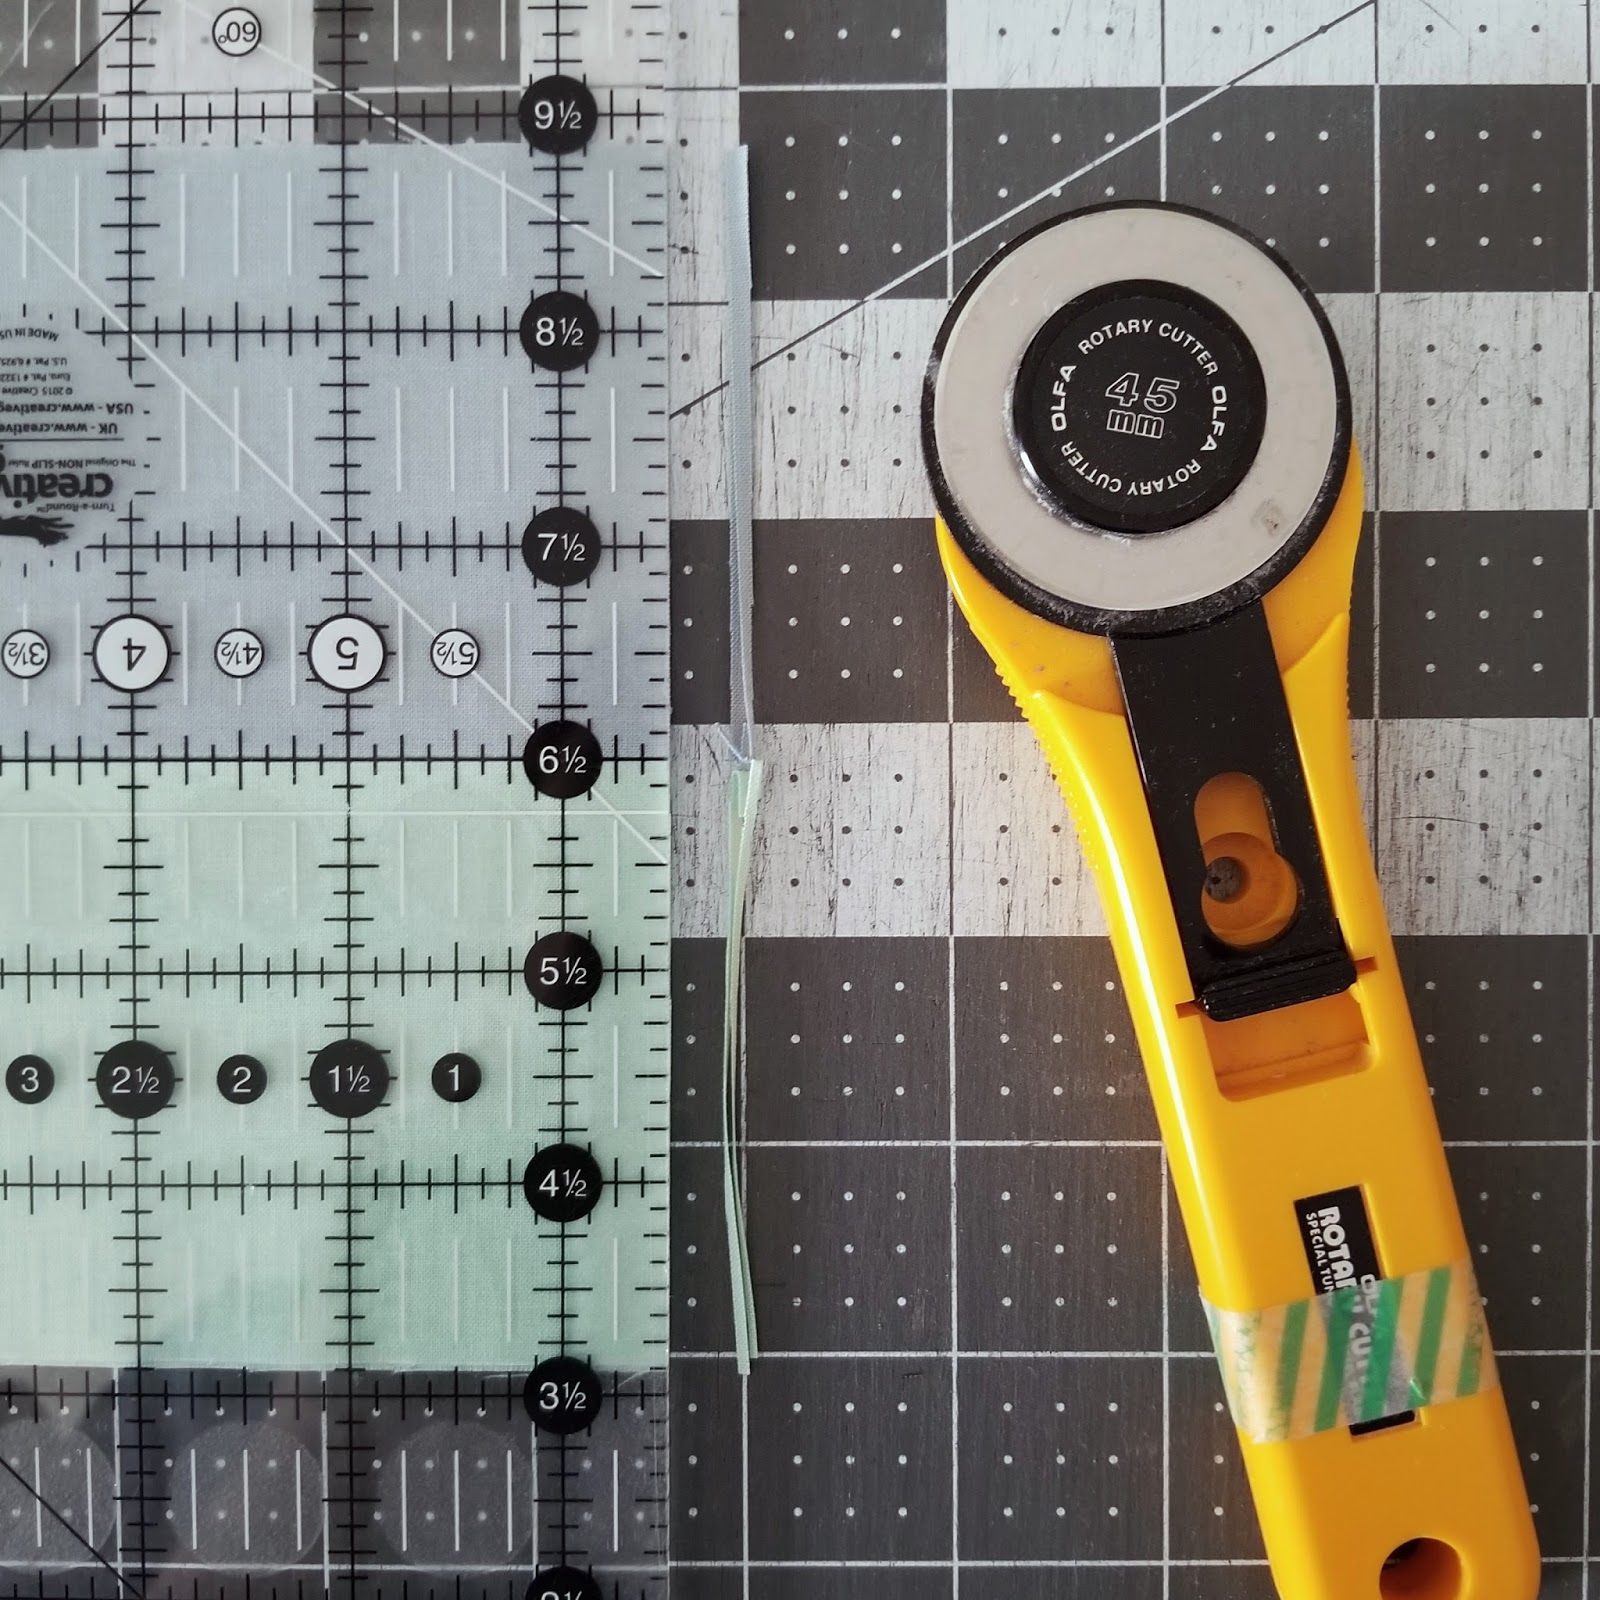
To speed up the cutting process, I like to layer two strip sets on top of each other and cut them at the same time. It's even easier to do this when your strip set seam has been pressed to one side. You can layer them so the seams nest together by flipping one of the strip sets in the opposite direction so that it is a mirror image of the strip set below it. Make sure your edges are lined up while cutting.
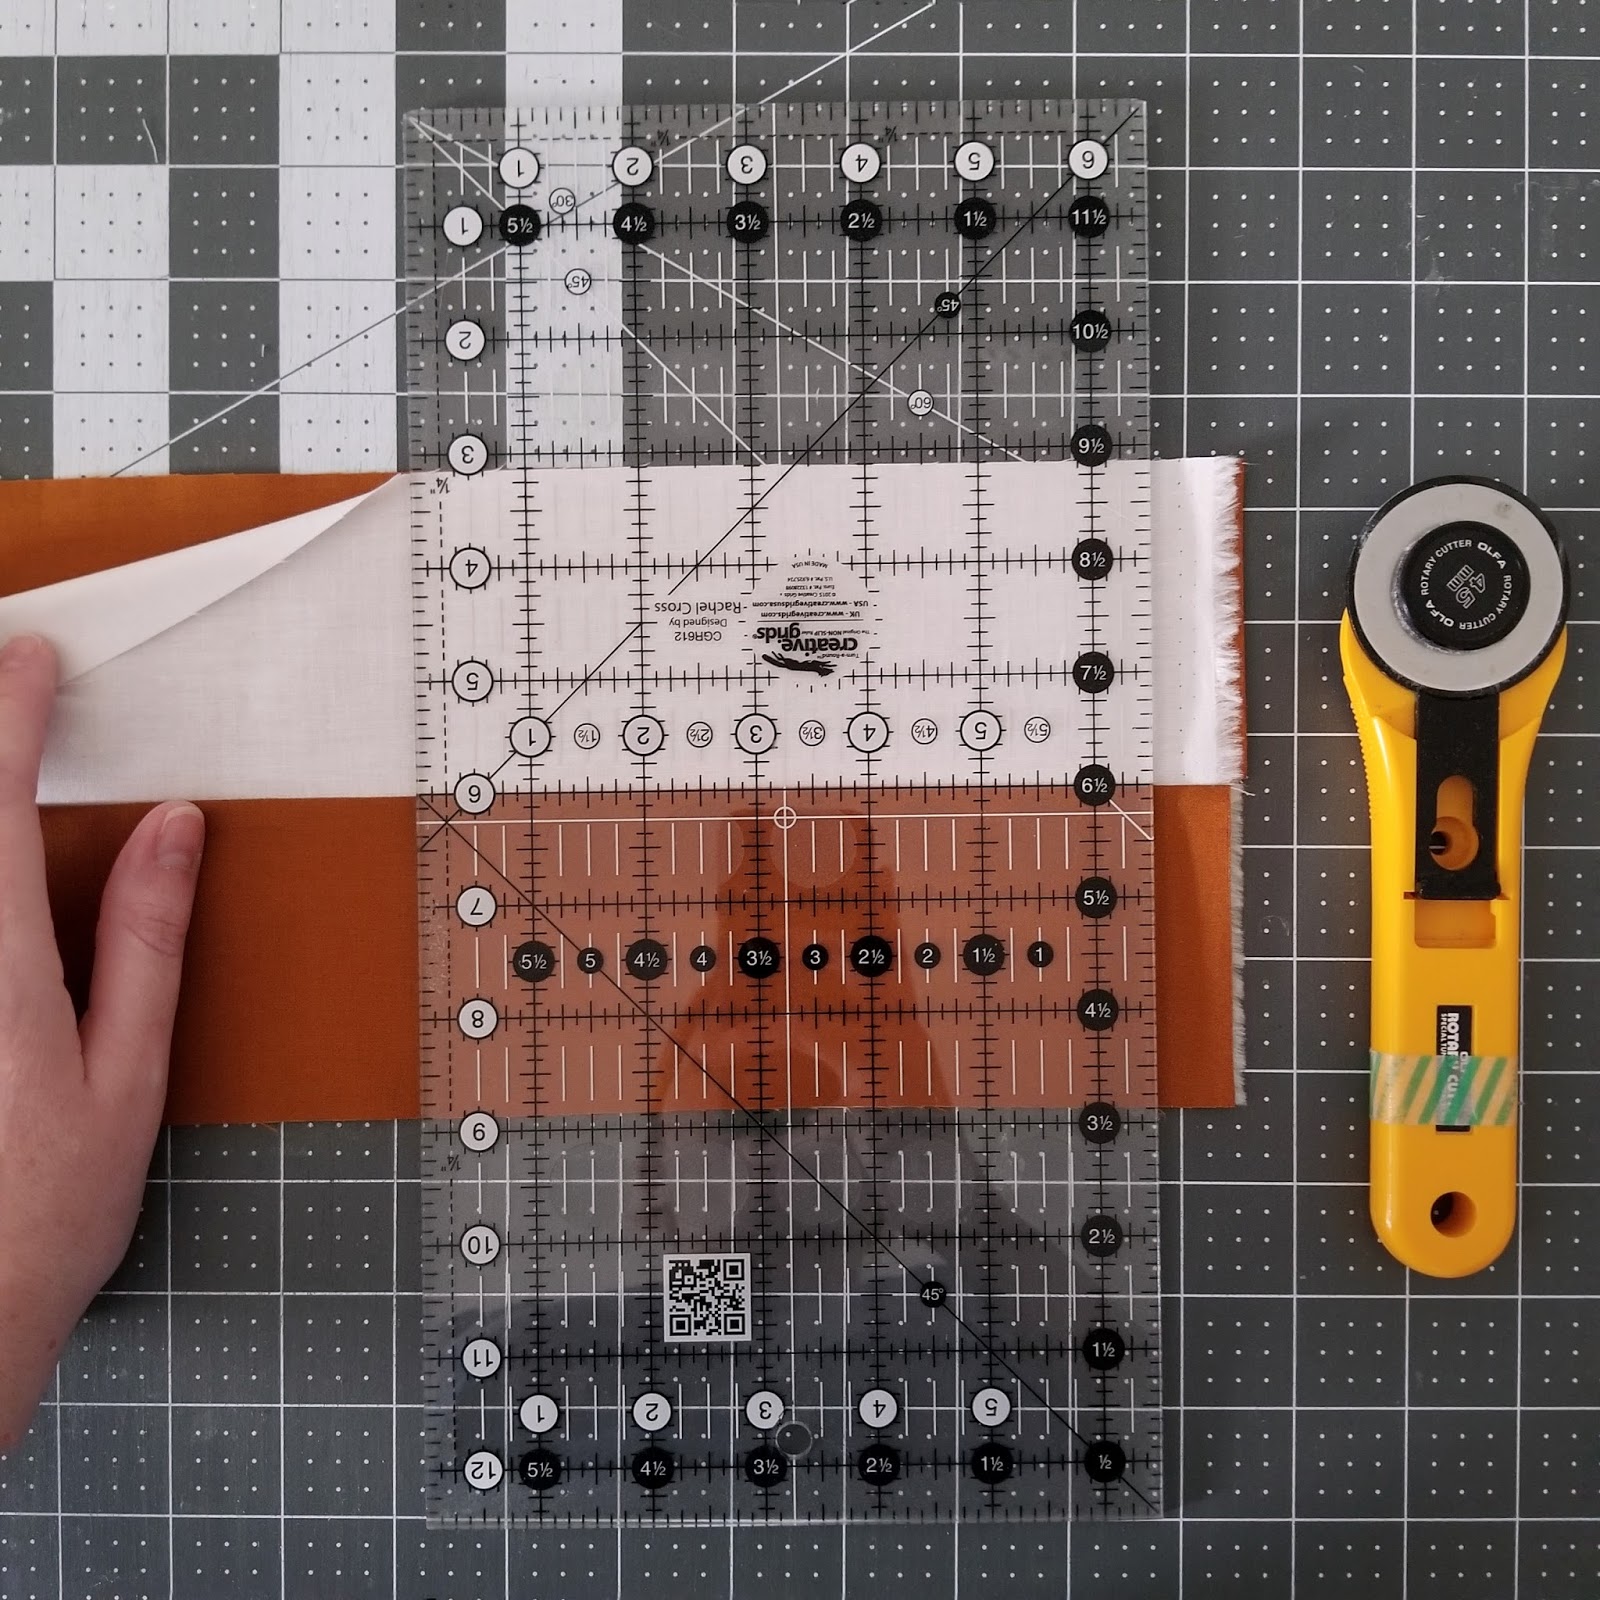
Also, you might need to square up the short edge of the strips after 3-4 pieces have been cut as shown in the photo below. Trim off as little as possible to avoid coming up short at the end.
This is the most the complicated part of this block and that's just making sure you pay attention to the orientation of the diamond/center block in relation to your ring prints. What I like to do to prevent any mistakes is to divide each pile of the various components for Block One in half as shown below.

It is important that your center diamond block keeps the same orientation for all 16 Block One's and that the ring pieces are a mirror image of each other for each set of eight blocks. Make sure the ring prints that are catty-corner to each other are not the same color. For example in the block below, the mint print is never next to another mint print. Notice that the ring prints follow an AB pattern around the perimeter of the block too.

I like to sew all of the first set of Block Ones at the same time and then move on to the second set. It helps to avoid any confusion about the placement of the ring prints later.

And here are my two sets of eight Block Ones all together below!

I hope this post helps! If you have any questions, feel free to ask below or email me at PenAndPaperPatterns@gmail.com. Next week I will be going over how to construct Block Two in more detail! Lots of good tips for this one! If you're sewing along, get those pieces and the Block Two template ready-to-go!
💗 Lindsey
Love this quilt, Lindsey! If I didn't have a crazy to-do list I'd be ALL over this QAL! Happy to follow along though and see all the prettiness ;)
ReplyDeleteThank you, Shannon! ❤️ Currently buried under my to-do list too ���� so I completely understand!
Deleteดนตรีมา
ReplyDeleteเล่นสล็อต-joker